To get full access to the Kademi Hub existing customers can login here, or new customers can register here.
Dashboard alerts are a nice, non-intrusive way to send messages to users is to display alerts on their dashbord when they're logged in. These can be sent to a whole group at once, or they can be triggered on specific conditions.
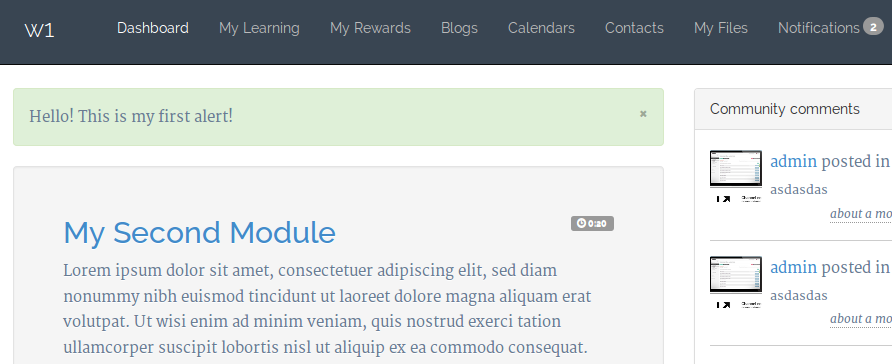 Example 1: A success alert on a users dashboard
Creating and configuring alerts
Alerts are created and edited from the administration console. Go to "Talk and Connect" -> "Dashboard alerts"
When you create an alert you need to select which website to place it in. If you only have a single website that will be an easy choice :)
You'll then see an edit screen with a few inputs to configure the alert:
Title: this is just a name for you to use internally in identifying inputs, its not displayed to users.
Group: only users in the selected group will see these alerts. If no group is selected the alert will *never* be displayed.
Type: the style of alert to display, such as whether it indicates success, or is a warning, or just for information, etc
Position: alerts can either be displayed at the top of the user's dashboard, or at the bottom for less important items.
Control: use this to disable the alert, or to make it enabled which will cause it to be displayed to the selected group, or choose event to make the alert only activate from specific events. See below for details
Start date: if a start date is entered the alert will only ever be displayed from this date onwards.
Allow dismiss: if checked users will be able to acknowledge the alert which will make it disappear from their dashboard. Otherwise it will remain displaying as long as its active
Content: use the Content tab to enter the actual text of the message. The message can contain web page formatting, images, tables, etc. Although its a good idea to keep the message short and simple.
Using alerts
There's broadly two ways to show alerts:
- Assign an alert to one or more user groups
- Display the alert as a result of an event, such as completing a module or receiving points
If you've selected enabled for the control state then the alert activates by being assigned to a groups. To activate based on events select event as the control state
Activating alerts from events
Once you've created your alert and set its control state to event you should create one or more events which activate that alert. So pop over to the Email Triggers page and create a new trigger or edit an existing one. On the actions tab, check the 'Actions' tab and select the alert to activate.
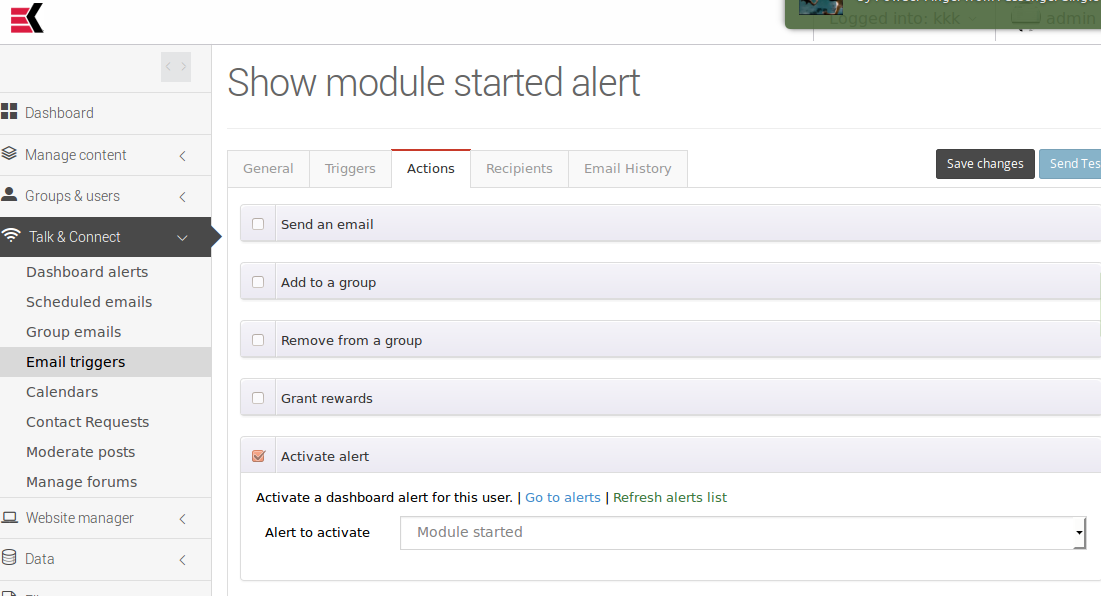 Example 2: Activating an alert from a Trigger
© 2025 Kademi Ltd