Integrating XE.com for Points Redemption
With XE.com integration, you can automate the redemption of incentive points into cash. This integration allows users to seamlessly convert their incentive points into the fiat currency of their choice and transfer it directly to their bank accounts through XE.com services.
How It Works
1. Points to Cash Conversion (Card Funding app)
• Users’ incentive points are automatically converted into their chosen currency.
• The cash equivalent is transferred directly to the user’s bank account via XE.com.
2. Reward Store Option
• Users can access the Reward Store on your Kademi website.
• They can:
• Select a product or a reward.
• Specify the redemption amount.
• Place an order to redeem their points.
• Once the order is placed, it is processed through XE.com, and the specified amount is transferred to the user’s bank account.
3. Monetary form
Benefits for Users
• Effortless conversion of points into cash.
• Flexibility to choose the preferred currency.
• Direct and secure bank account transfers powered by XE.com.
By integrating XE.com, your platform can offer a streamlined, user-friendly redemption experience that enhances engagement and satisfaction.
To get started, the Xe application needs to be installed.
1. Go to Website Manager, then Websites, click through to the settings for the site the integration will be used in, and click Find more apps.
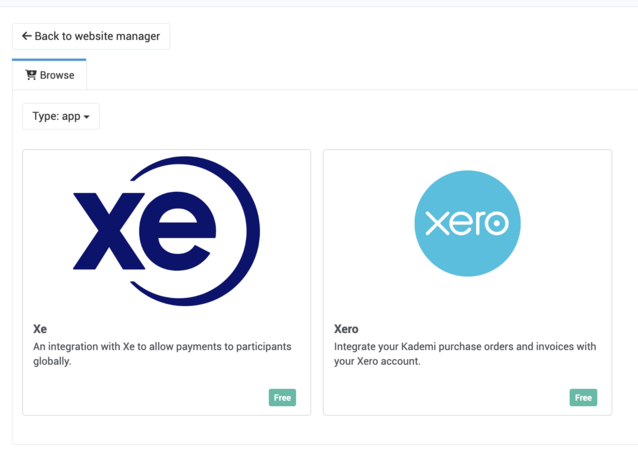
2. Find the Xe application, and install it in your site.

3. Click on Products & Stores, then Xe.
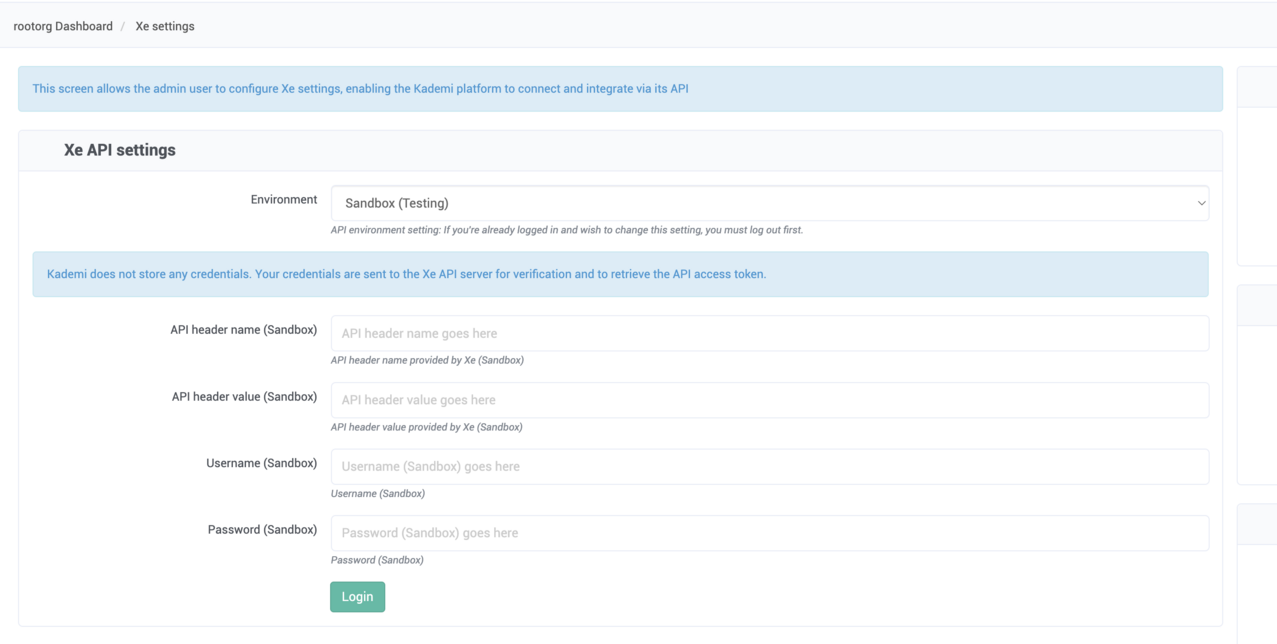
4. Select the relevant environment
5. Login to XE.com using your credentials

Accessing Key Settings Panels on XE.com
After successfully logging in to XE.com, you can access the major settings panels to configure and manage your account effectively. Below is a breakdown of the key panels and their options
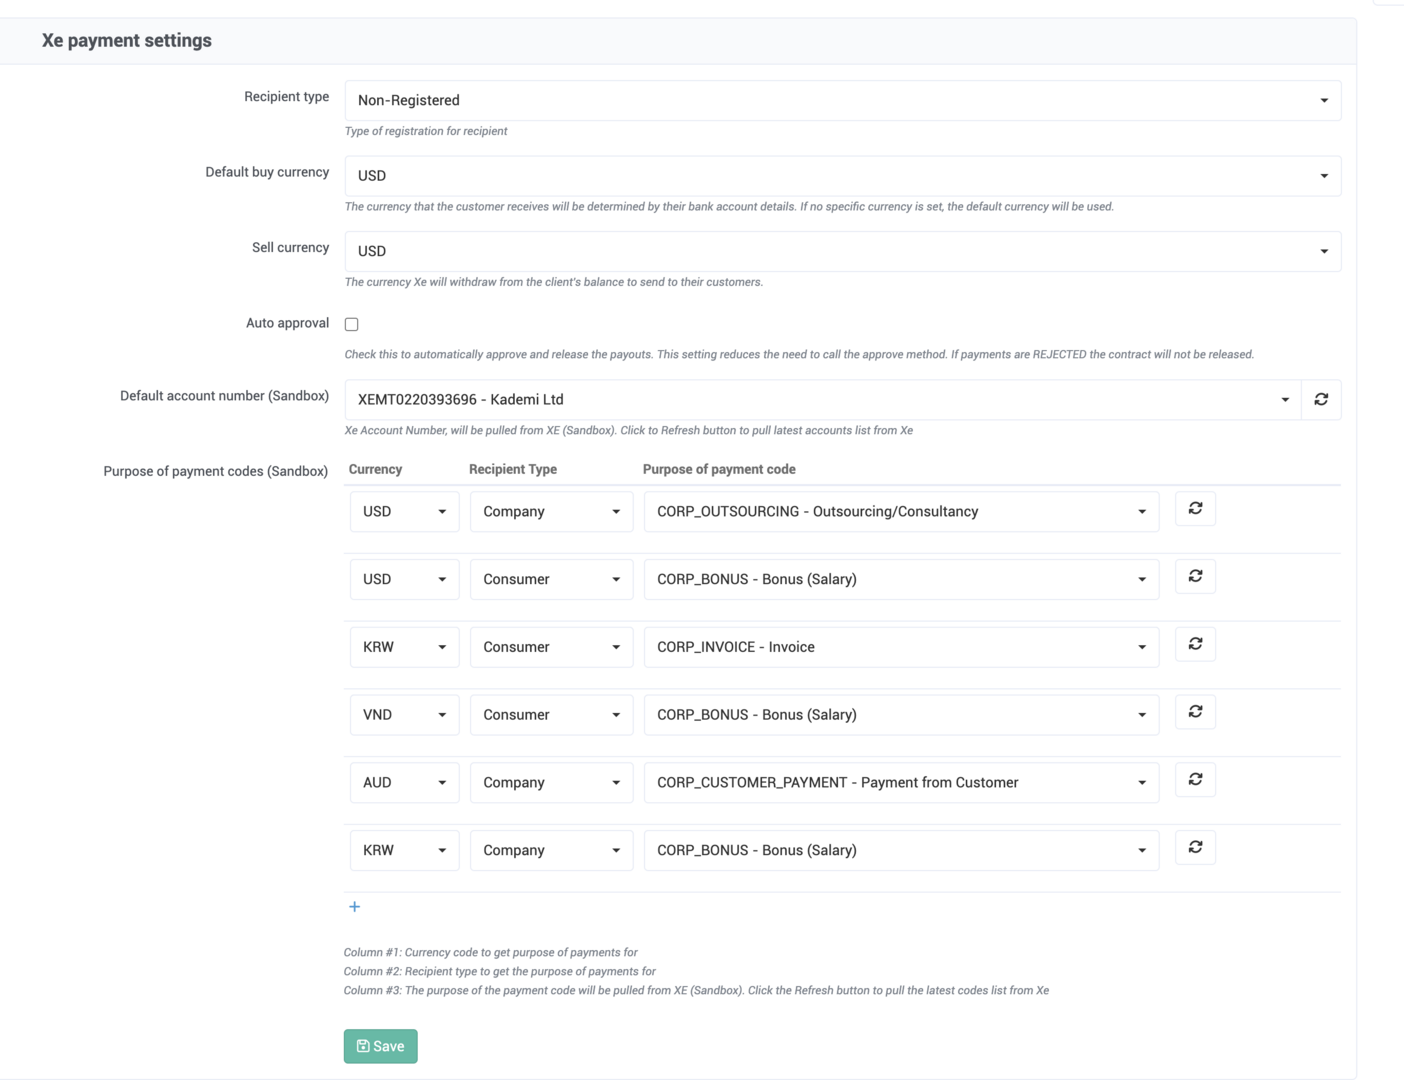
1. XE Payment Settings

This panel contains several options for configuring payment-related settings:
a. Recipient Type
• Currently supports only the Non-Registered type.
• Kademi will always send the full recipient details to XE. XE will either:
• Create a new recipient based on the provided details, or
• Update an existing recipient if the details (typically the email) match.
b. Default Buy Currency
• Determines the currency that the customer will receive based on their bank account details.
• If no specific currency is set, the system defaults to the configured Default Buy Currency.
c. Sell Currency
• Specifies the currency XE will withdraw from your balance to send to customers.
d. Auto-Approval
• True: Payments are automatically approved and released without manual intervention.
• Note: Payments with a “Rejected” status will not release the contract.
• False: Payments must be manually approved via the XE.com dashboard.
e. Default Account Number
• Specifies the default XE.com account to use for sending payments.
f. Purpose of Payment Codes (POP Codes)
• POP codes are required for compliance with financial regulations and for ensuring proper tracking of international fund transfers.
• These codes:
• Indicate the reason for the payment.
• Help financial institutions and regulators monitor transactions for transparency, reporting, and fraud prevention.
By configuring these settings, you can ensure smooth and compliant operation of your XE.com integration, tailored to your business requirements. For further guidance, consult the XE.com support documentation or contact their customer service.
2. Ecommerce settings

a. Ecommerce Store
Define the Kademi ecommerce store so that when an order is placed, it triggers a request to the Xe API to create an order.
b. Currency Multiplier
Set the currency multiplier for converting points to dollars.
c. Denominations
Provide the values of denominations, separated by commas.
d. Categories
Specify the Kademi categories used to create denominations for products. Additionally, when an order is placed containing products from these categories, a request will be sent to Xe for payment creation.
4. XE API Notification Settings
This panel allows you to configure email notifications:
• Specify the email addresses where notifications will be sent for updates or alerts related to API activities.
Workflows
When you have everything set up, it's now time for choosing workflow and how to get started
1. Points to Cash Conversion (Card Funding app)
To get started, the Card Funding application needs to be installed.
1. Go to Website Manager, then Websites, click through to the settings for the site the integration will be used in, and click Find more apps.
2. Find the Card Funding application, and install it in your site.
3. Go to Card Funding menu item in admin console and create a new program

You can refer to the dedicated documentation for the Card Funding app [here]. Please ensure that the Product SKU configured in the Card Funding program is available in the store and categories you previously set in the Xe app settings.
1. Navigate to Data > Table Uploaders > Users Uploader.
2. Upload your file.
3. Choose the action “Map Columns for XE.com Integration” from the list.
4. Specify the positions of the bank details columns.
5. Specify the column for the email or user ID, along with any other required user details.
6. Click Import and wait for status to be completed


To verify if the user bank details have been successfully uploaded, follow these steps:
1. Edit the profile.html template by adding the xeBankDetails component.
2. Log in as a participant.
3. Navigate to the profile page on the website and check if the bank details are displayed.

Congratulations! You’ve completed the comprehensive tutorial on configuring the Card Funding integration with XE.com. Now, you can award some test points to a user and trigger the Card Funding program to begin scanning participants and creating orders in XE.com. Happy testing!
2. Reward Store Option
Steps to Set Up the Workflow:
1. Install the Xe App:
• Add the Xe app to your Kademi website.
2. Assign Products:
• Add products from the configured Xe categories to the e-commerce store linked to the Kademi website.
Order Processing:
• When a user places an order containing these products, it will automatically be sent to XE.com for processing.
3. Monetary Form
Steps to Set Up the Workflow:
1. Install the Xe App:
• Install the Xe app on your Kademi website.
2. Assign Products:
• Add products from the configured Xe categories to the e-commerce store associated with the Kademi website.
3. Add the Monetary Redemption Form:
• Include the Monetary Redemption Form component on a web page within the Kademi website.


Process Orders:
• When a user places an order containing products from the Xe categories, the order will automatically be sent to XE.com for processing.
Order fulfilment statuses (From XE.com)
We can check those statuses per each order item
 When there is an error occurrs, you can always click Send to Xe button to resend it to XE.com.